
OUR STORY
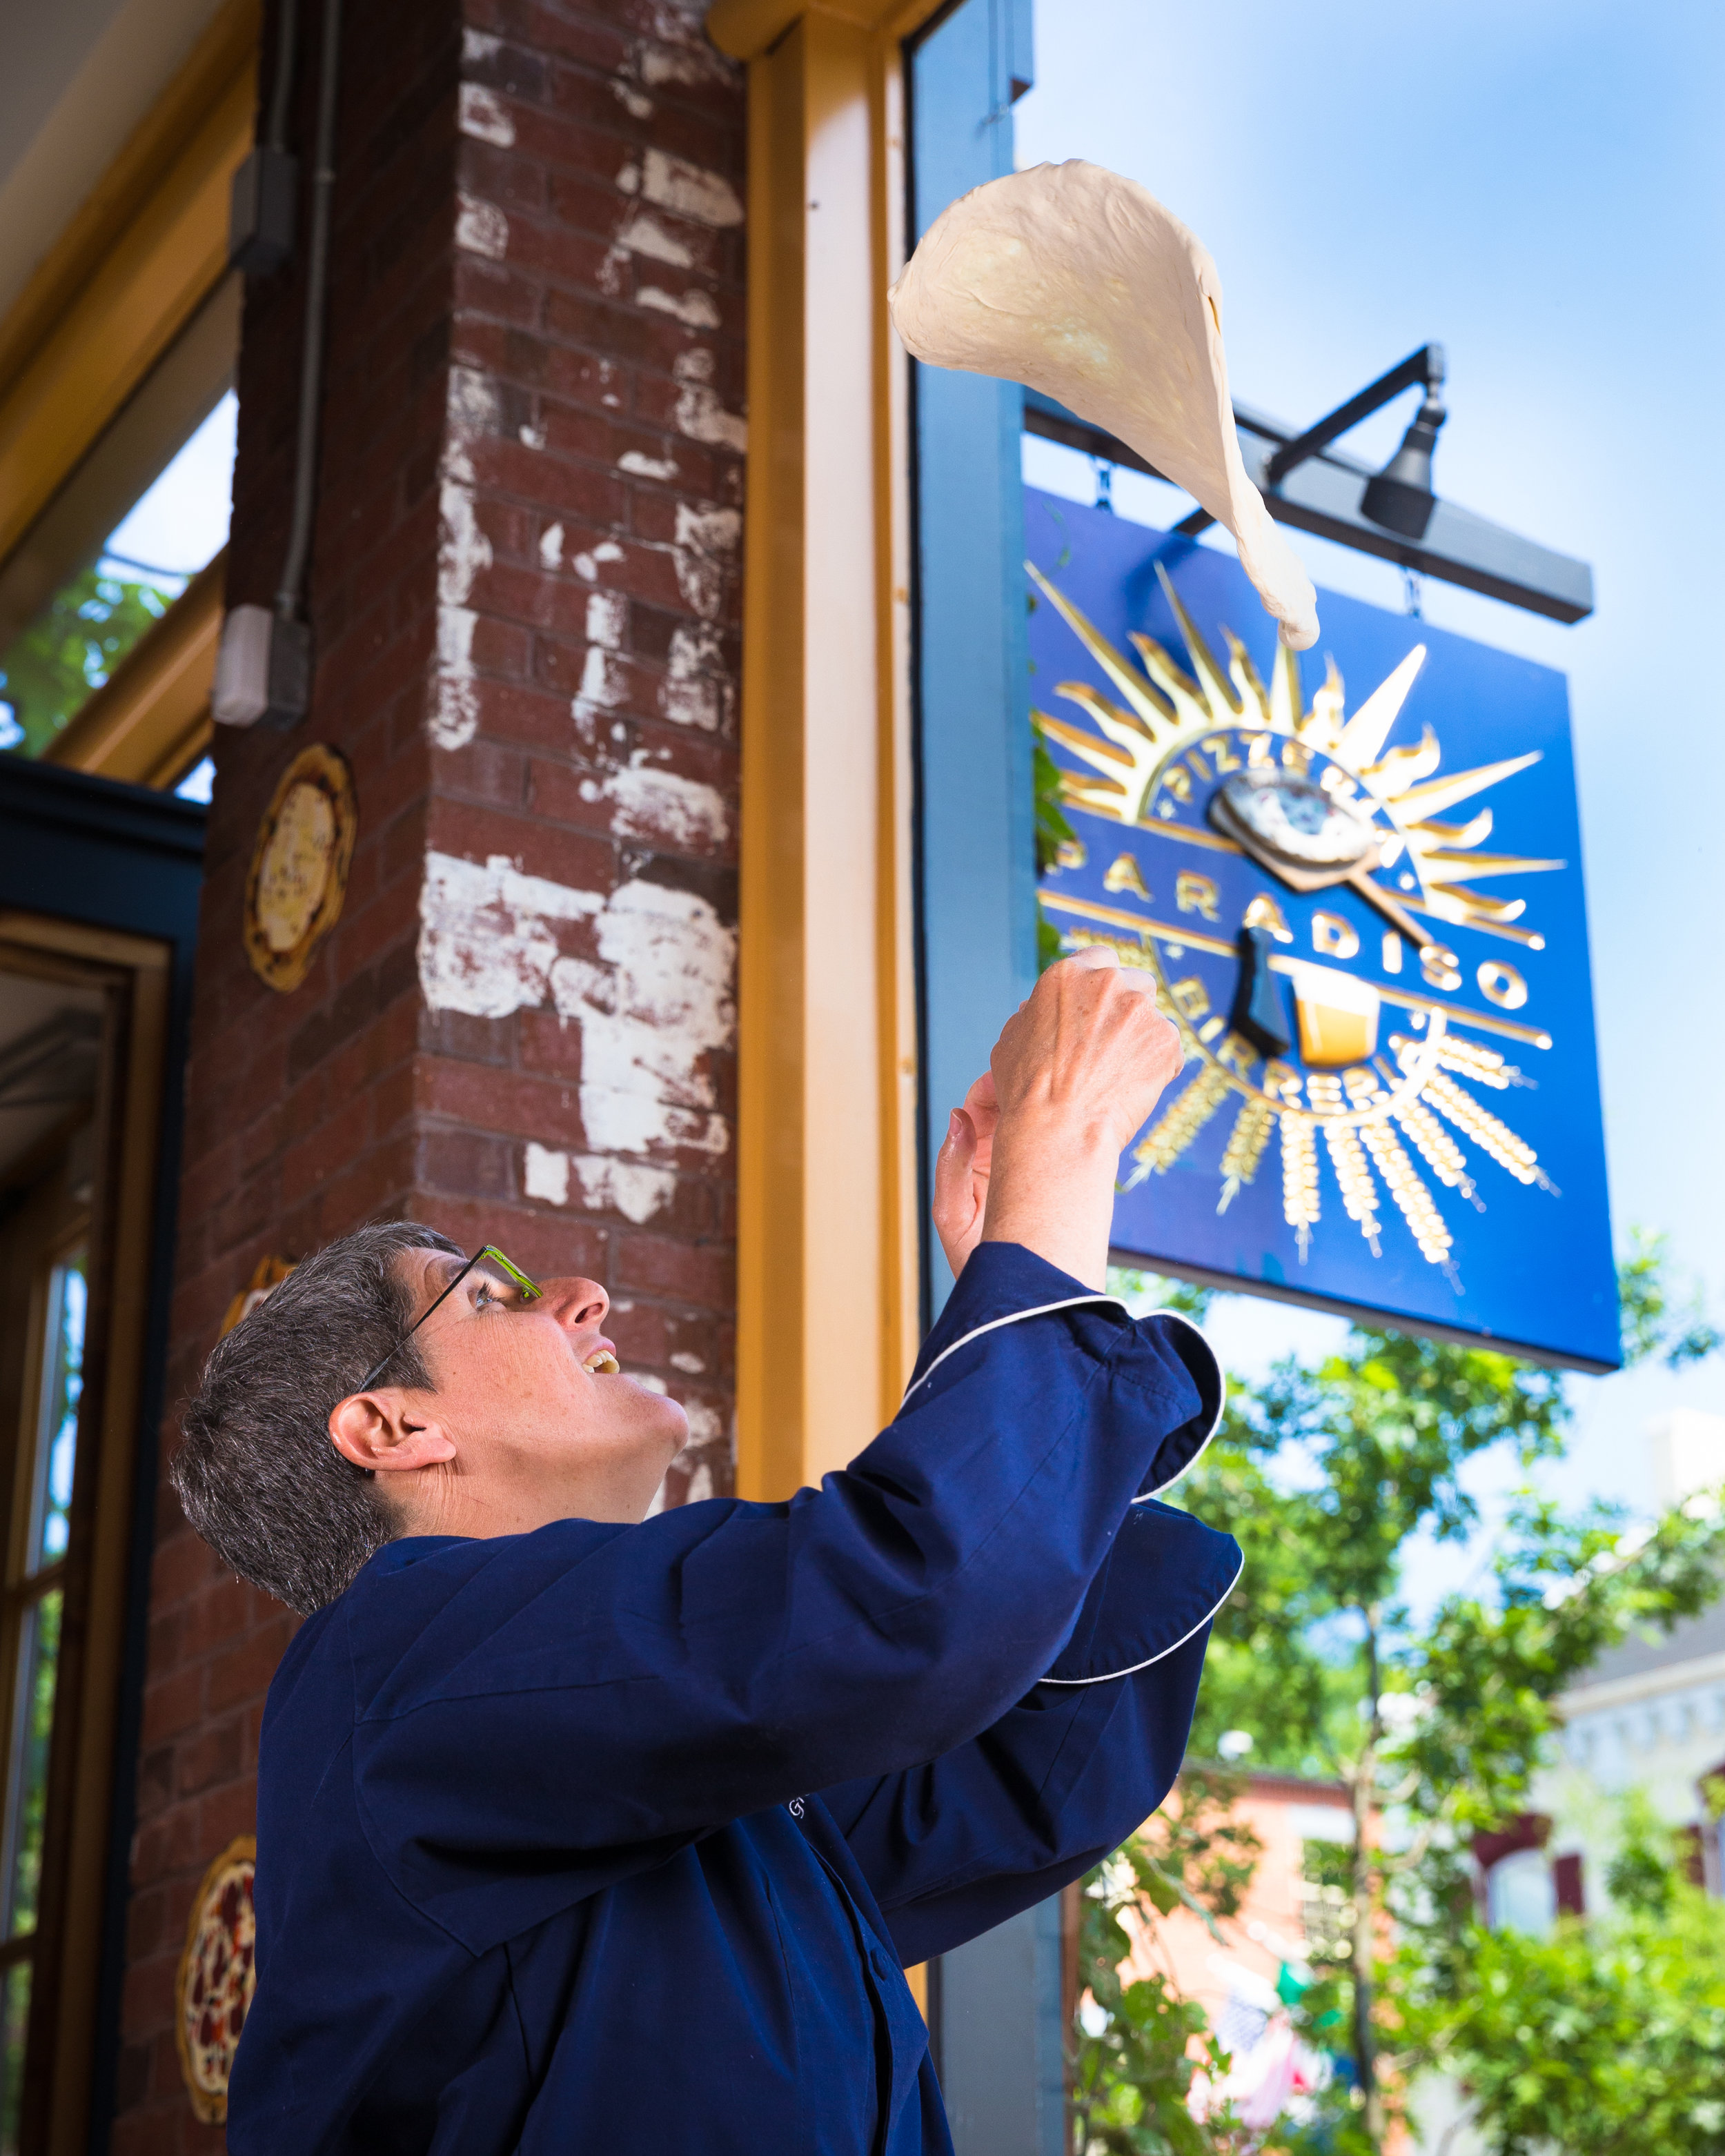
We opened Pizzeria Paradiso so we could make the kind of pizza we longed for but couldn’t find in the DC area; the kind of pizza where the crust was the most important part. To create that pizza, we start with a wood-burning, domed, stone oven able to cook at a temperature of 650 degrees and above. Then we placed the oven at the heart of the restaurant so our guests would feel the warmth and comfort of its glow.
Next, we developed dough that would respond to our oven the way we dreamed. We let our dough rise slowly, work it by hand, lightly grace it with the finest quality toppings, finish it with extra virgin olive oil and cook it in our beloved oven.
As Phyllis Richman wrote about us, “[m]aking great pizza isn’t all that difficult. You need good yeast dough – left to rise long enough to develop the flavor. Then a tomato sauce of quality, cheese that’s delicious and fresh herbs from the garden, honest olive oil and vibrant toppings. Plus a good hot wood-burning oven. In other words, all it takes is a commitment to quality. That’s what makes the difference at Pizzeria Paradiso.”
The original Pizzeria Paradiso, located on the second floor of a small townhouse in Dupont Circle, opened its doors in November 1991. The restaurant received immediate critical acclaim and has consistently been ranked among the best dining in Washington, DC. Since the original location opened its doors, we have opened Pizzeria Paradiso restaurants in Georgetown, DC (2002), Old Town Alexandria, VA (2010; closed 2020), Hyattsville, MD (2017) and Spring Valley, DC (2018). We also relocated our original restaurant to a larger space down the street, complete with a small outdoor patio space.
Pizzeria Paradiso provides table service, bar service, private and semi-private dining, and individual and party-size carry out. The food menu is supplemented by an extensive beer list with our Georgetown location showcasing the the downstairs Paradiso Game Room complete with arcade games and tabletop shuffle board! Service hours vary by location for lunch and dinner. Check the hours of your neighborhood location here.
Founded on the spirit of laughter, Pizzeria Paradiso evokes the warmth one feels in the home of a close friend. Founder and Chef/Owner Ruth Gresser’s vision of Pizzeria Paradiso during its formation was of her standing near the kitchen laughing with her co-workers. The notion of creating a nice, respectful and positive place to work is the bedrock of Pizzeria Paradiso, guiding the staff and transferring to our customers. At Pizzeria Paradiso, the people in our community change but the feeling our community creates remains true to Founder Ruth Gresser’s vision. Come enjoy with us!


BIRRERIA PARADISO
Birreria Paradiso opened as a response to our customers’ growing interest in microbrews and handcrafted beers. By offering a wide variety of the world’s finest beers, to be paired with Pizzeria Paradiso’s renowned Neopolitan style pizza, Birreria Paradiso elevates the classic pizza and beer combination to a level not previously found in the metro-DC area. Birreria Paradiso satisfies avid beer lovers while expanding pizza lovers’ awareness of artisanal beers that offer the same level of refinement as the world’s best wines.
Each Birreria Paradiso location offers a beer list consisting of 12 or more draft beers and an extensive list of bottled beers, all presented at the correct temperatures and in appropriate glassware. Birreria Paradiso’s mission is to meet each customer on their level of beer knowledge and enjoyment, from the novice to the aficionado, and to serve our customers only true craft beer. In support of its mission, in 2017, Birreria Paradiso made a commitment to only serve beer made by breweries that fit the definition of an Independent Craft Brewery as defined by the Brewers Association.
In 2018, the original Birreria Paradiso in Georgetown was transformed into Pizzeria Paradiso’s Game Room. Housed in the lower level of Pizzeria Paradiso Georgetown, the Game Room offers an adult playground of craft beer, arcade games, and tabletop shuffleboard! At our other locations, Birreria Paradiso provides a standard bar atmosphere within our Pizzeria Paradiso restaurants. All locations also offer Happy Hour pricing on select days of the week.
RUTH GRESSER
Owner and chef Ruth Gresser learned her craft at her mother’s side, cooking for her large family and her mother’s catering company. Gresser cooked her way through college before entering the professional food scene in San Francisco in the early stages of the modern American food movement. In 1987, after graduating summa cum laude from Madeleine Kamman’s Classical and Modern French Cooking School, and cooking professionally in French, American, and Italian restaurants across the country, she moved to Washington, DC.
In 1991, she turned her attention to pizza, opening Pizzeria Paradiso to critical acclaim and growing the restaurant group to five locations in 2018 - adding Birreria Paradiso and The Paradiso Game Room to the brand along the way. Now considered the matriarch of pizza in the District, Gresser has been instrumental in the opening of seven popular Washington restaurants. Gresser is also the author of Kitchen Workshop – Pizza: Hands-On Cooking Lessons for Making Amazing Pizza at Home.
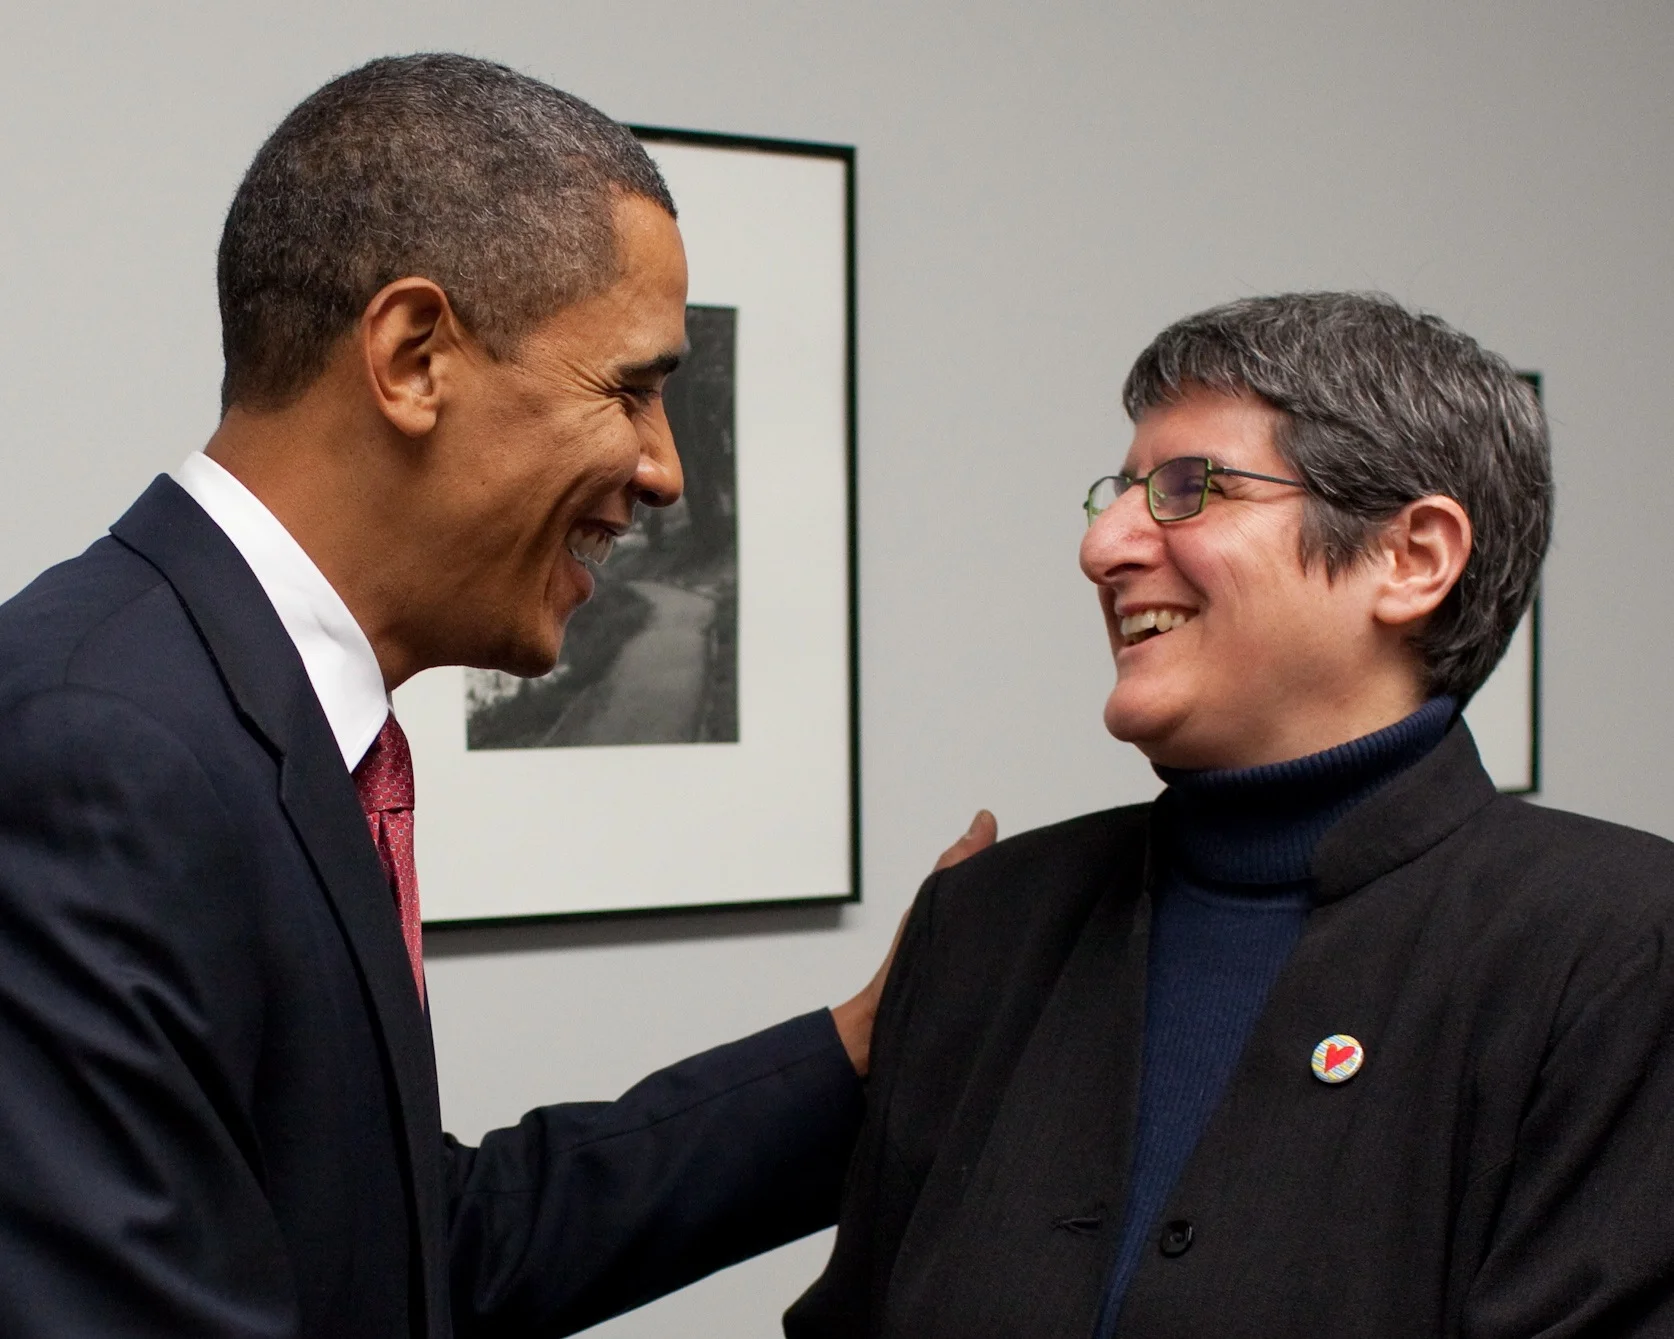
From 2010 to 2017, Gresser sat on the Board of Directors of Women Chefs and Restaurateurs, the foremost organization for women in food founded by industry leaders such as Lydia Bastianich, Mary Sue Milliken, Barbara Lazaroff and Barbara Tropp. During her tenure Gresser served as the Board’s Treasure, Vice President and President. Gresser is a member of Les Dames d’Escoffier, and has served on the Board of the Restaurant Association of Metropolitan Washington and the Dupont Circle Business Improvement District. Gresser has been profiled in The Washington Post Magazine and The Washington Business Journal. She has appeared on numerous local and national TV and radio outlets and industry conference panels including Fox Business News and The New School of New York. Gresser was a 2017 Women Who Mean Business winner awarded by the Washington Business Journal. In 2019 and 2020, Gresser was also named a semifinalist in the James Beard Awards in the category of Outstanding Restaurateur.
CARLOS GONZALEZ
Chef Carlos Gonzalez began his tenure with Pizzeria Paradiso in 2000, starting as a dishwasher but quickly moving up the ranks. He was promoted to a pizza chef not long after his initial hiring, followed next by managing one of the kitchens, and soon attaining the role of Executive Chef wherein he oversaw all Paradiso kitchens. In 2023, Gonzalez stepped into the role of Executive Director of Operations, finally becoming Managing Partner in 2024, sharing part-ownership alongside Founder/Owner Ruth Gresser. Gonzalez is originally from El Salvador, and was honored to have Gresser attend his naturalization ceremony when he became a full citizen of the United States. He is incredibly excited to usher in a new chapter for Pizzeria Paradiso, looking to add his own flair to future menus and future developments.

OUR COMMUNITY
Chef Ruth Gresser’s vision of Pizzeria Paradiso during its formation was of her standing near the kitchen laughing with her co-workers. This vision of comradery and joy serves as the bedrock of Pizzeria Paradiso and is fundamental to the creation of a nice, respectful and positive place to work.

At Pizzeria Paradiso, the people in our community change, but the feeling of our community remains true to Founder Ruth Gresser’s vision. Founded on the spirit of laughter, Pizzeria Paradiso evokes the warmth one feels in the home of a close friend. Chef Gresser’s vision continues to guide the staff and influence our customers extending the Pizzeria Paradiso community beyond the walls of our restaurants.
Pizzeria Paradiso has participated in community projects, programs and events since its founding. Over the years, Pizzeria Paradiso found a synergistic partnership with organizations focused on education and art, as well as women’s issues and LGBTQ+ rights. Pizzeria Paradiso has been a steady supporter of individual local Public Schools through fundraisers, demonstrations, and Chef Gresser’s participation in Chefs Move to Schools at Takoma Park Middle School.

Pizzeria Paradiso is a cultural and arts supporter as an early sponsor of Reel Affirmations, the Washington DC gay film festival and an ongoing supporter of The Theater Lab, the largest and most comprehensive independent, nonprofit school for the dramatic arts in the DC region. Pizzeria Paradiso is also a founding supporter of Art Works Now, the pre-eminent non-profit visual arts organization in Prince George’s County. Pizzeria Paradiso has collaborated with Art Works Now in renovating and co-tenanting an abandoned Prince George’s County landmark building in private-public partnership. Together, Pizzeria Paradiso and Art Works Now have reinvigorated an underutilized neighborhood historical site by transforming it into a robust community center.
Pizzeria Paradiso and Chef Gresser have also participated in many women’s initiatives and organizations - from the National Network to End Domestic Violence to Ovarian Cancer Research Alliance to the League of Women Voters to She Should Run. Chef Ruth served on the Board of Directors of Women Chefs and Restaurateurs for 7 years, including as President of the Board in 2015/2016. She was also a founding member of the Women’s Leadership Programs’ Advisory Board of the James Beard Foundation.
In addition, Pizzeria Paradiso hosts fundraisers in the restaurants for area organizations and schools – from holiday initiatives supporting Bread for the City, Martha’s Table, Toys for Tots; to a Night Out for Austin Tice and PTA fundraisers, Pizzeria Paradiso joins with, and rallies, its community to make a better world.